
Have you ever wondered how to perfectly replicate a letter's elegant curves and flourishes? The technique of tracing letters – often referred to as 'tracing letters template' – is a surprisingly rewarding and versatile skill that extends far beyond just recreating handwriting. It's a powerful tool for improving your drawing skills, enhancing your artistic expression, and even offering a unique approach to typography and design. This guide will delve into the intricacies of tracing letters template, exploring its history, techniques, benefits, and practical applications. Understanding this method unlocks a deeper appreciation for the artistry of handwriting and provides a pathway to creating visually compelling designs. The core of tracing letters template lies in understanding the underlying geometric principles of letterforms – the angles, curves, and proportions – and translating those principles into a drawing process. It's a process that demands patience, precision, and a keen eye for detail. Let's begin!
The History and Evolution of Tracing Letters Template
The origins of tracing letters template are surprisingly ancient, predating the modern era of formal handwriting instruction. Ancient civilizations, particularly in Egypt and Greece, employed techniques to replicate hieroglyphs and other decorative scripts. These weren't simply copying; they were meticulously recreating the feeling of the original script, utilizing a system of geometric shapes and proportions. Early tracing methods were often rudimentary, relying on simple lines and shading to mimic the curves and angles of the letters. Over time, these techniques evolved, incorporating mathematical principles and a growing understanding of letterforms. The Renaissance saw a renewed interest in classical art and architecture, leading to a greater emphasis on precise representation and a more formalized approach to drawing. The 19th and 20th centuries witnessed the rise of formal handwriting instruction, with educators introducing systems of letter formation and tracing, laying the groundwork for the techniques we use today. The modern tracing template, as we understand it, is a direct descendant of these historical practices, refined through experimentation and technological advancements. It's a testament to the enduring human desire to capture and replicate the beauty of handwriting.
Understanding the Core Principles of Tracing Letters Template
At its heart, tracing letters template is about understanding the underlying geometric structure of a letter. Each letter is composed of a series of interconnected lines and curves. The key to successful tracing lies in recognizing these relationships and applying them to your drawing. Here's a breakdown of the fundamental principles:
- The Baseline: The baseline is the foundational line that establishes the letter's shape. It's crucial to accurately capture the baseline – its position and length – as it's the anchor point for the entire letter.
- The Ascender: The ascender is the portion of the letter that extends upwards. Tracing the ascender requires careful attention to its angle and curvature.
- The Descender: The descender is the portion of the letter that extends downwards. Understanding the descender's shape and how it interacts with the ascender is vital.
- The Slant: The slant is the slight angle of the letter. Tracing the slant accurately is essential for creating a visually pleasing and balanced letter.
- The Curve: The curve is the most complex element. It's formed by the intersection of the ascender and descender, and it's the key to creating a natural and flowing letter.
Section 1: Mastering the Basic Strokes – The Foundation of Tracing
Before attempting to replicate complex letterforms, it's essential to develop a solid foundation of basic strokes. These strokes – straight lines, curves, and angled lines – are the building blocks of any letter. Start with simple exercises, focusing on controlling the pressure and direction of your lines. Practice drawing straight lines, curved lines, and angled lines repeatedly. Gradually introduce curves, starting with gentle curves and gradually increasing the complexity. Don't rush this stage; accuracy is paramount. A shaky foundation will inevitably show in your final tracing. Consider using a light pencil to sketch these basic strokes, allowing you to easily erase and adjust as needed. This process builds muscle memory and improves your control over your drawing tools.
Tracing the Basic Shapes of a Capital Letter
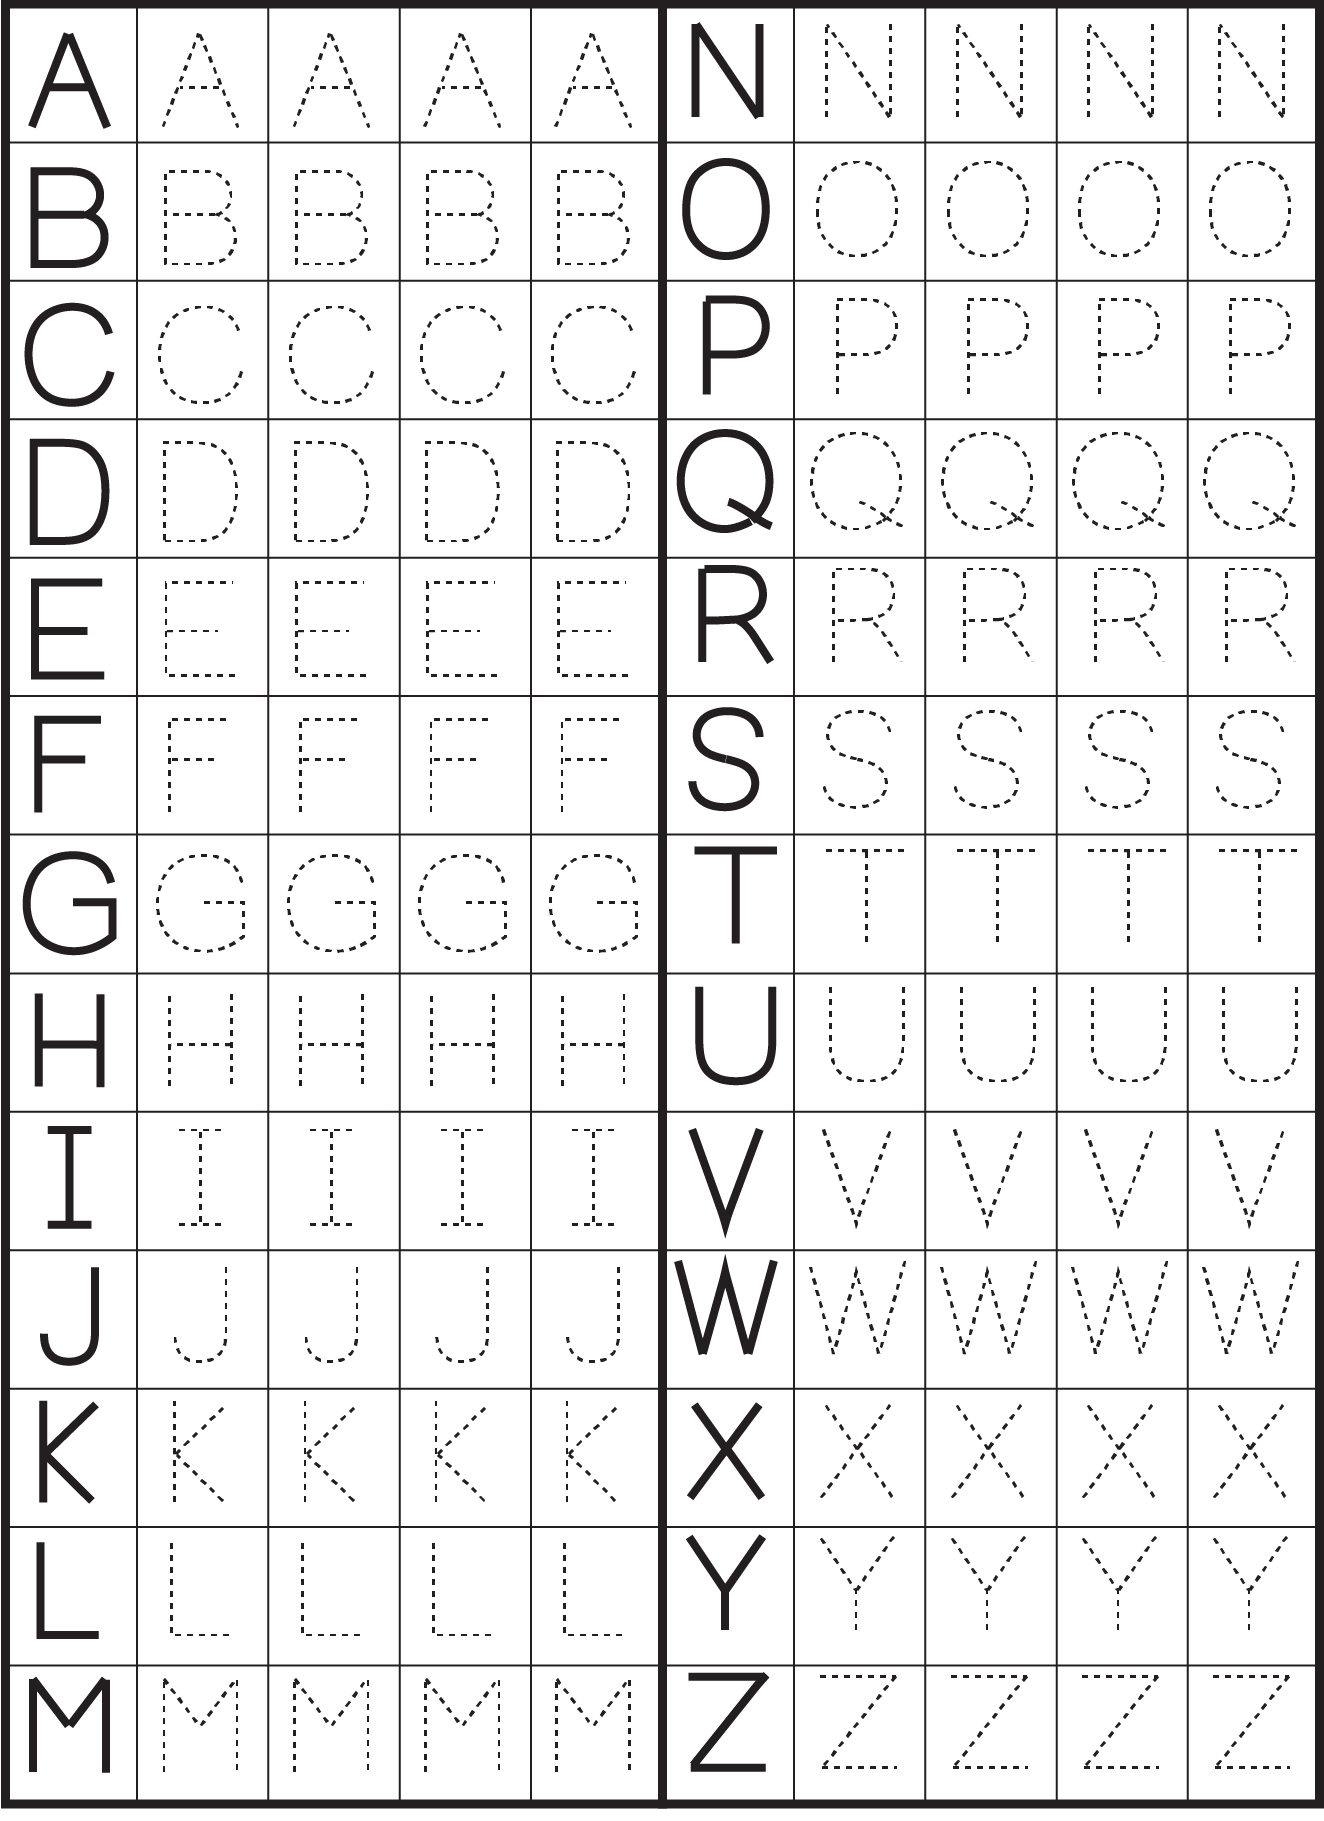
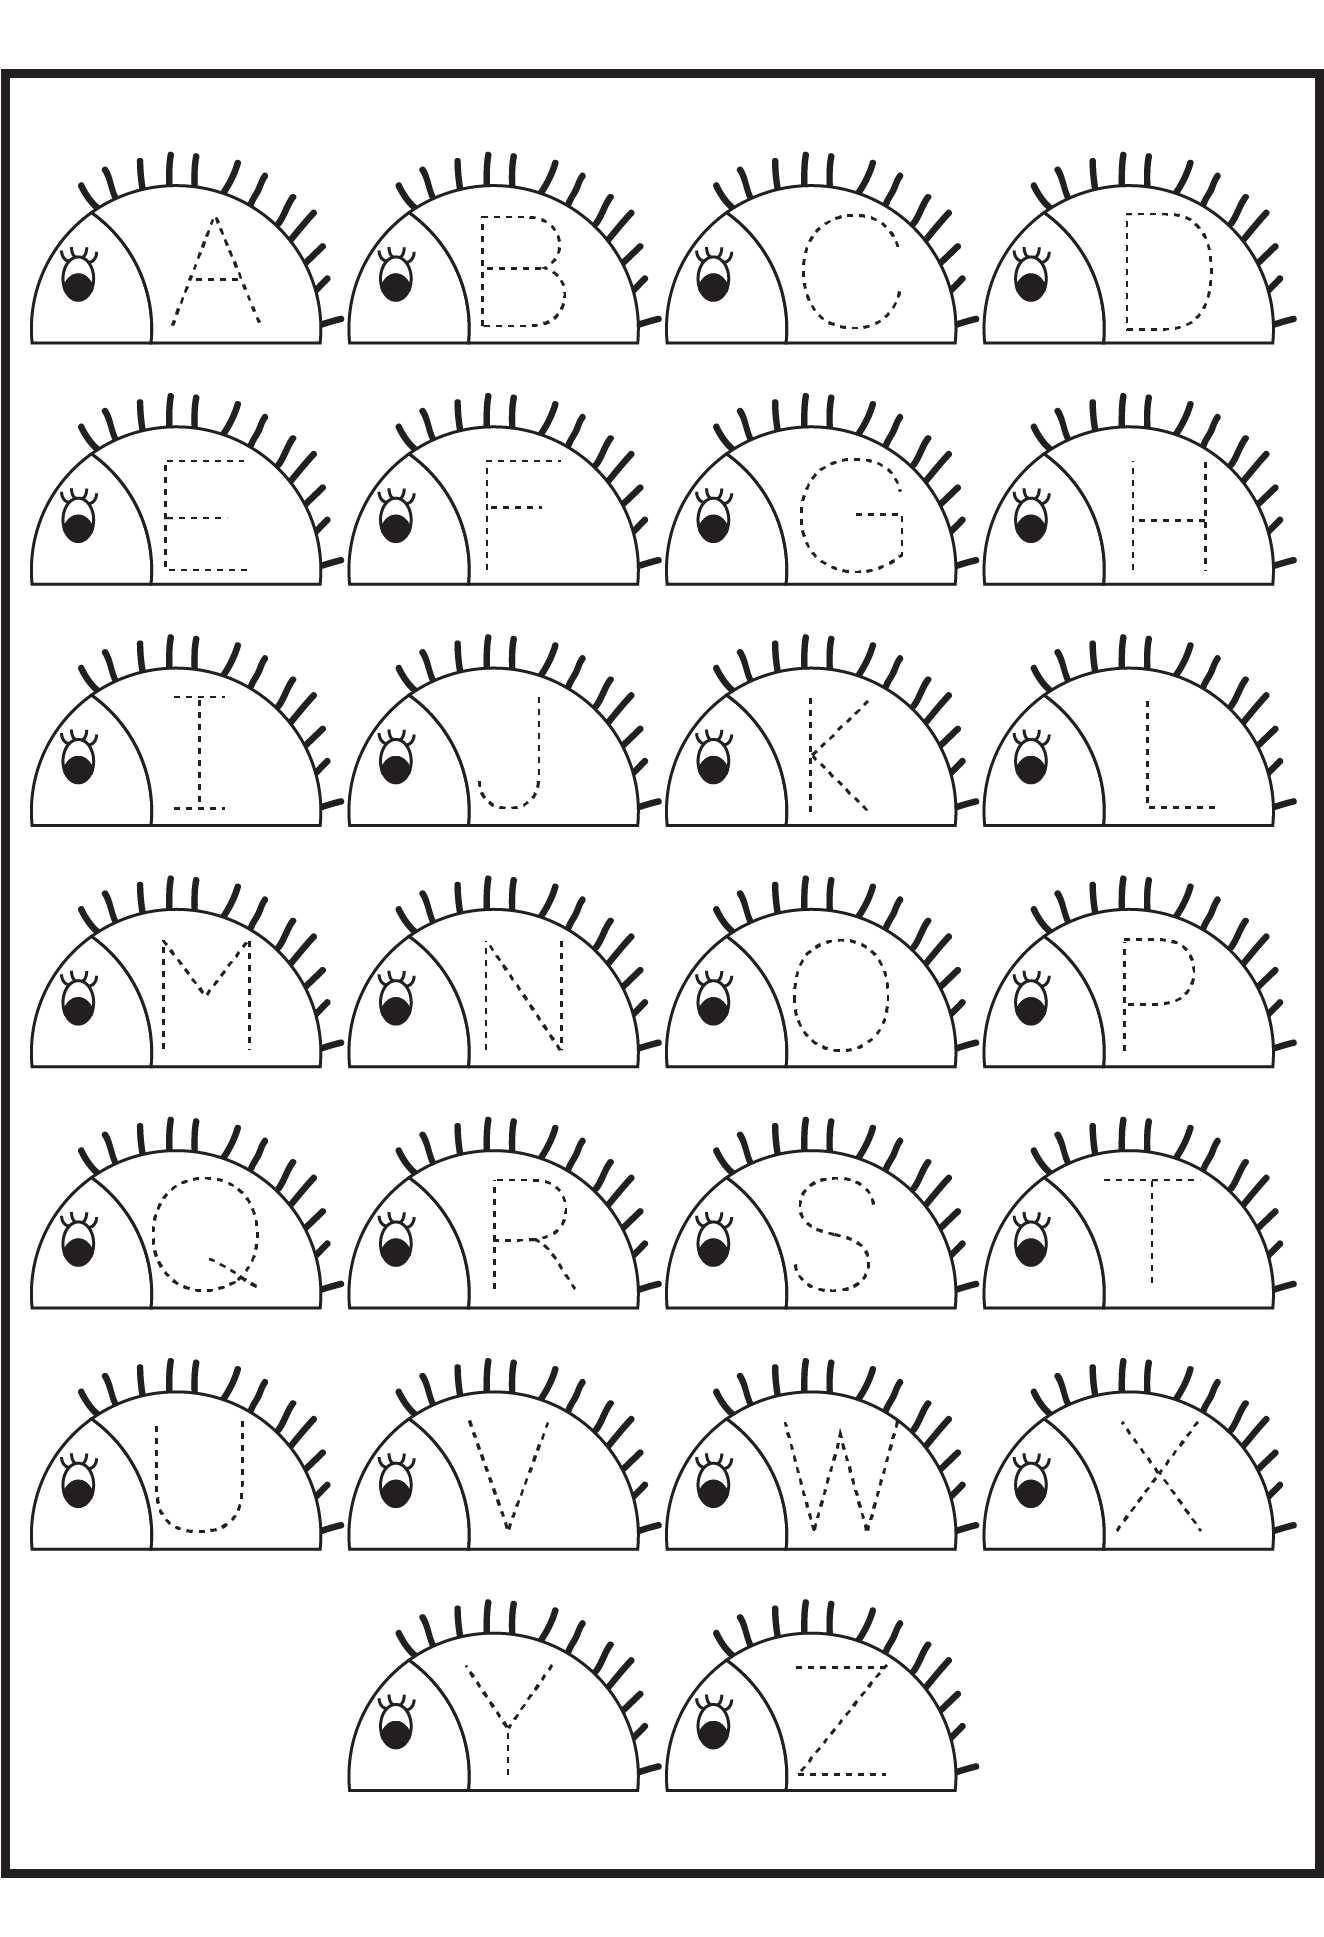
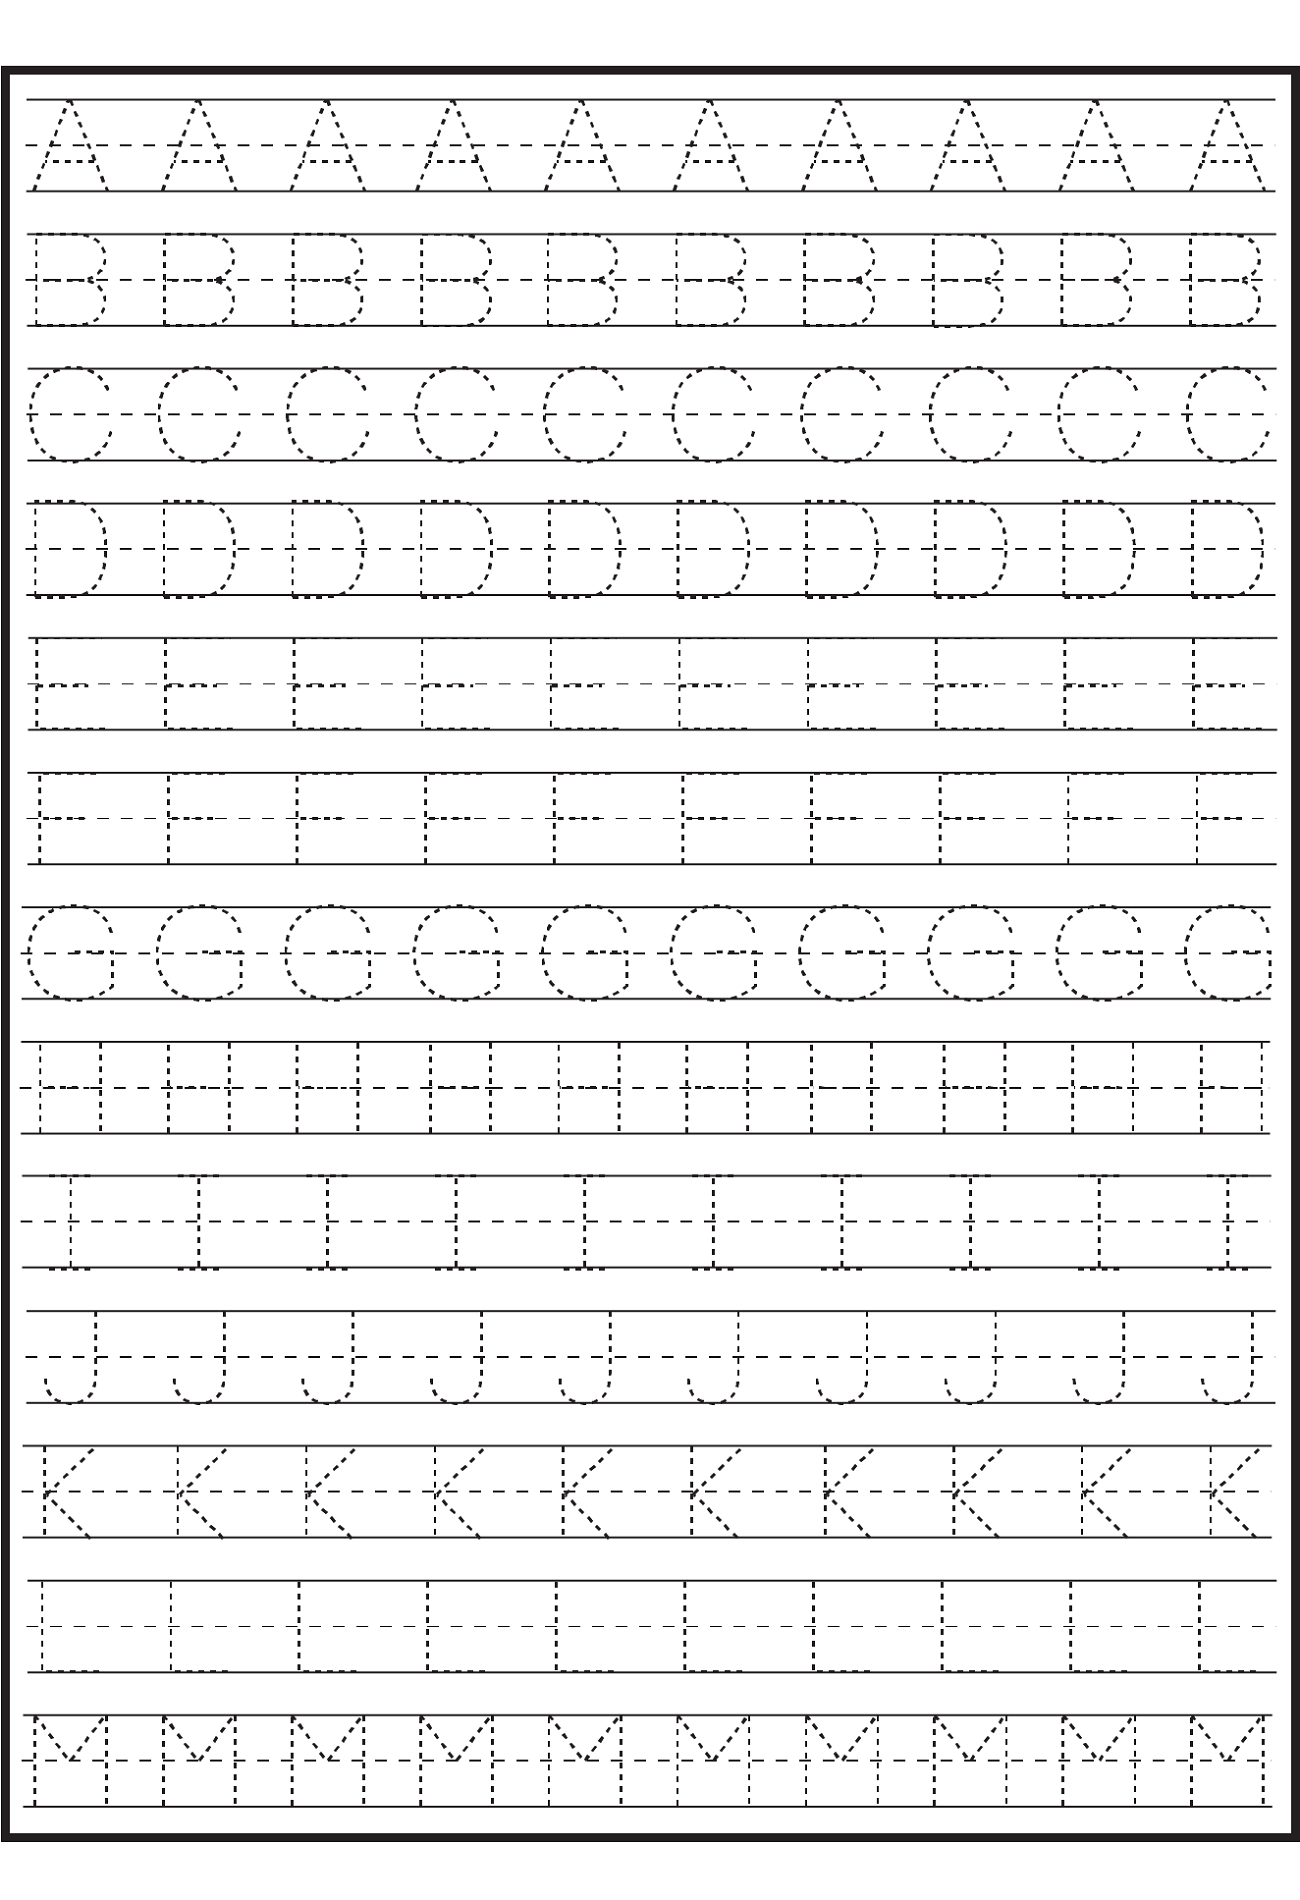
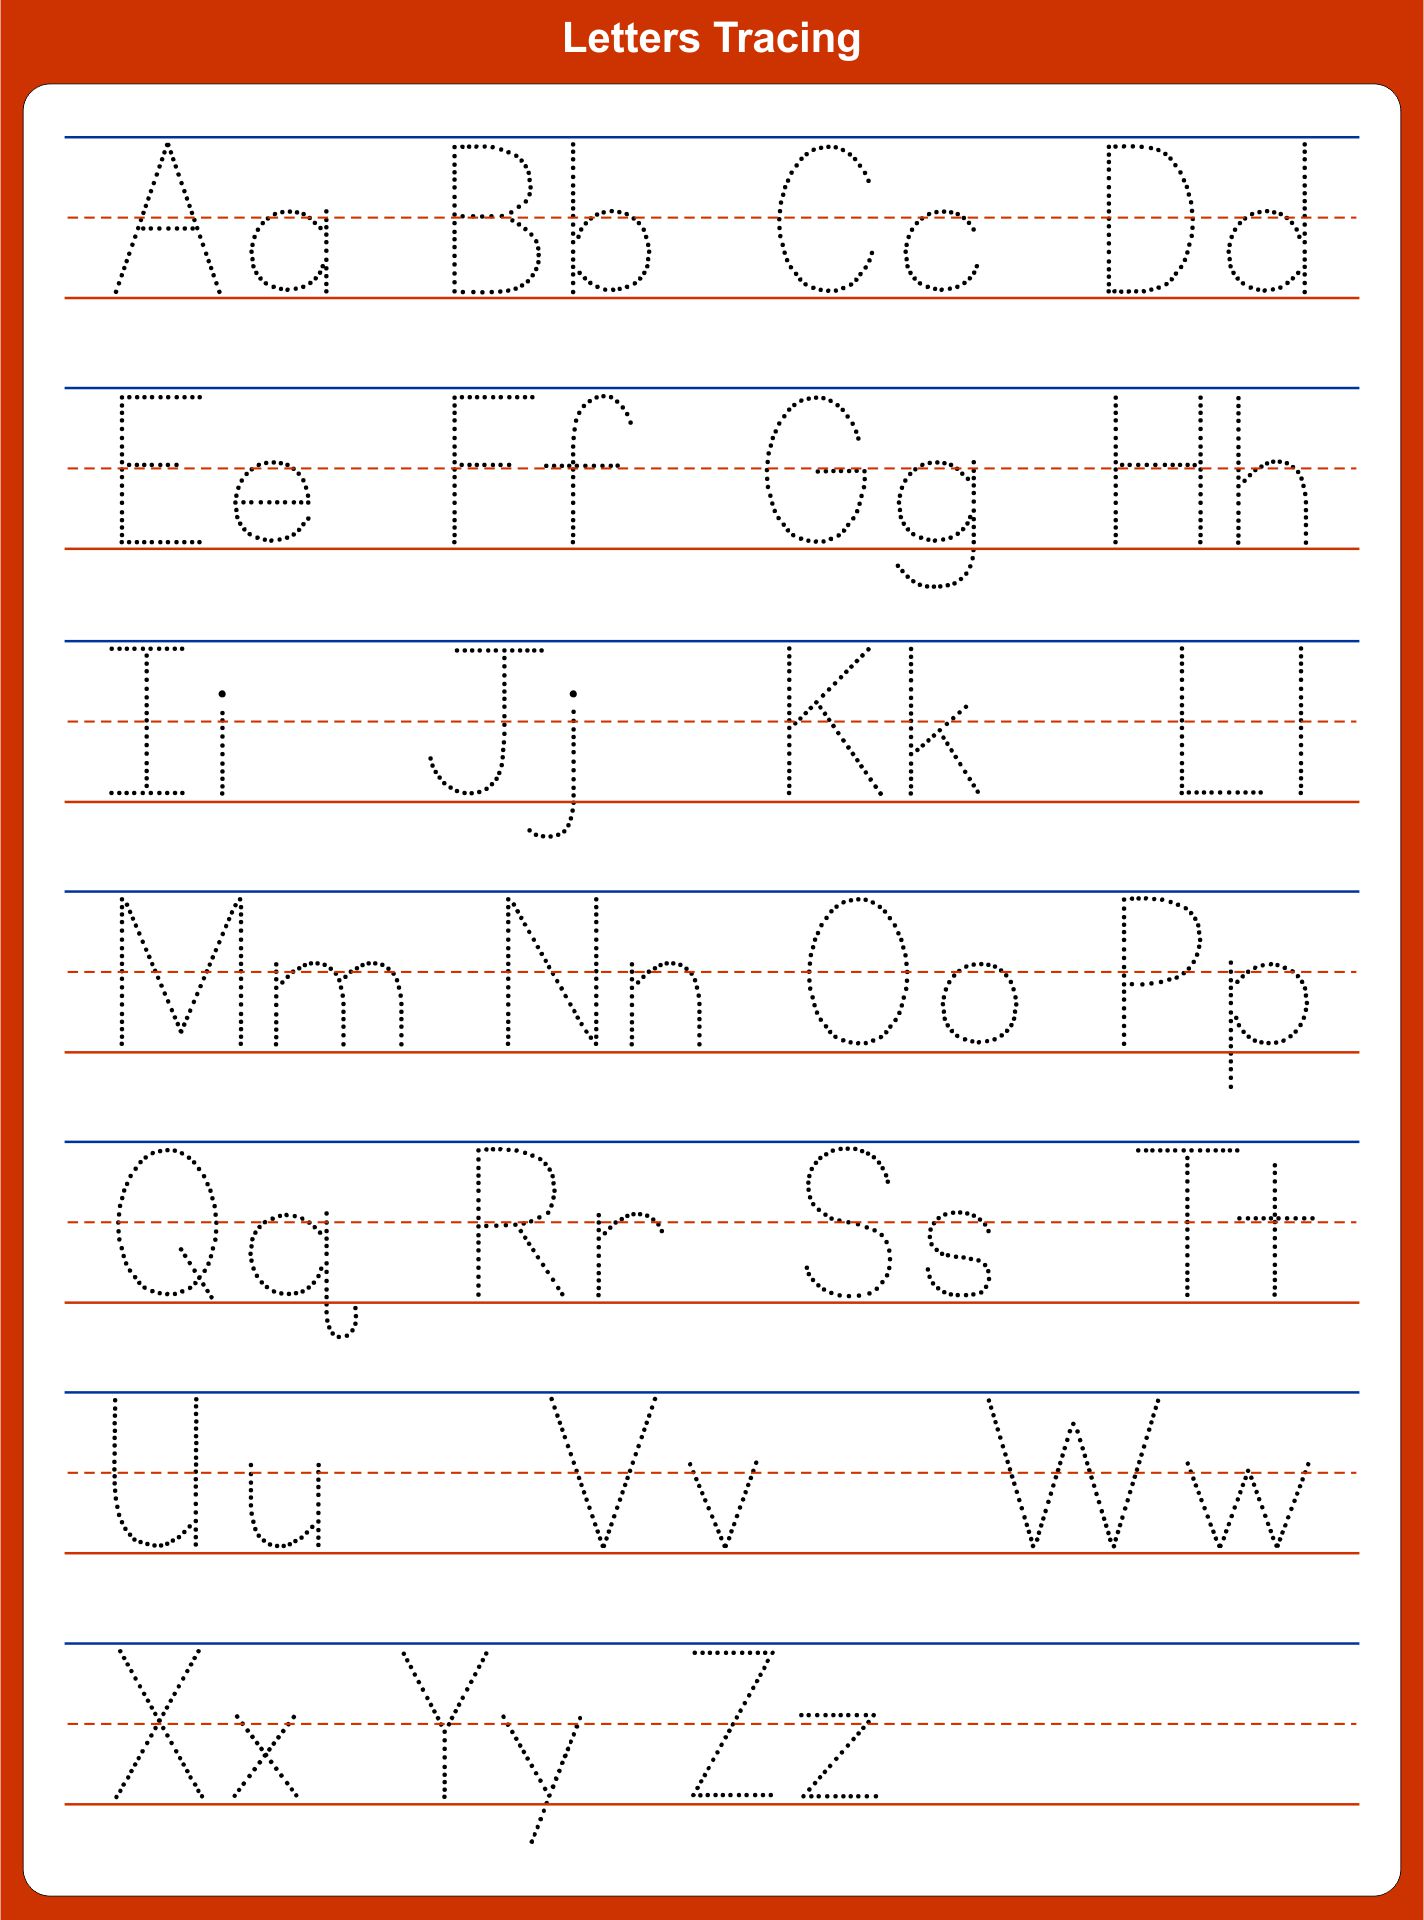
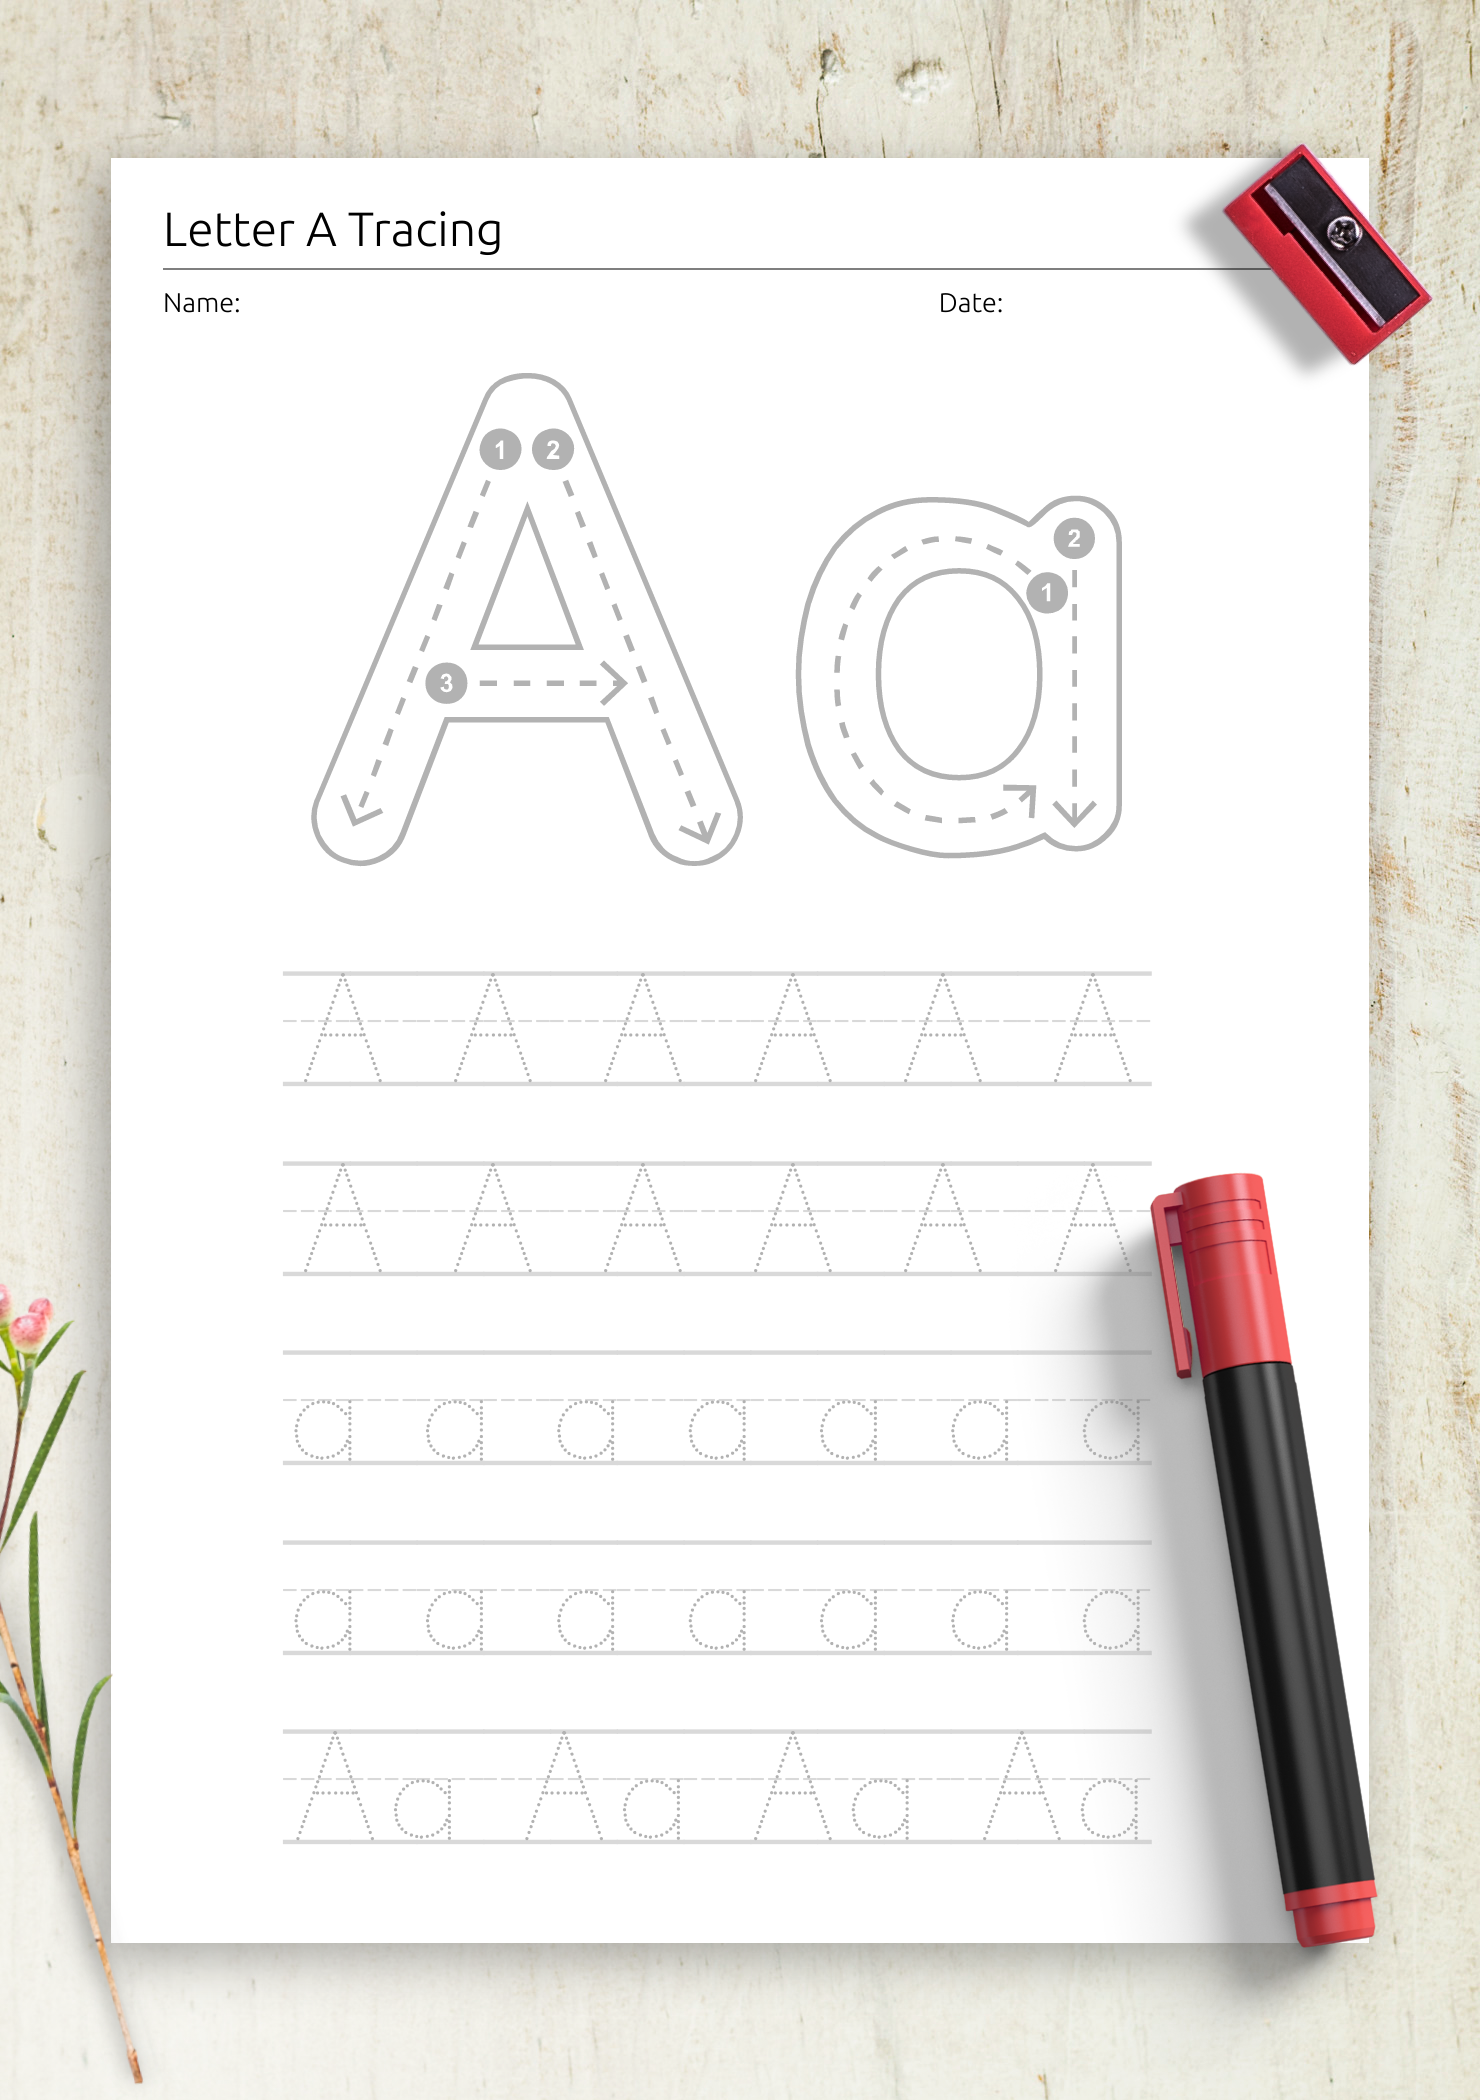
Let's focus on tracing the basic shapes of a capital letter. For example, consider tracing the 'A'. Start by drawing a straight line across the letter, establishing the baseline. Then, draw a curved line that connects the baseline to the top of the letter. This curve should be smooth and flowing, mimicking the natural curve of the letter's ascender and descender. Don't worry about perfection at this stage; focus on capturing the overall shape and the relationship between the lines. As you progress, gradually refine the curve, adding more detail and ensuring it's consistent throughout the letter. Practice tracing different capital letters – 'B', 'C', 'D', 'E', 'F', 'G', 'H', 'I', 'J', 'K', 'L', 'M', 'N', 'O', 'P', 'Q', 'R', 'S', 'T', 'U', 'V', 'W', 'X', 'Y', 'Z'.

The Importance of Consistent Angle
Maintaining consistent angles throughout your tracing is crucial for creating a visually appealing letter. Pay close attention to the angle of the ascender and descender, and ensure that they are aligned correctly. A slight deviation from the correct angle can disrupt the flow of the letter and make it look awkward. Use a protractor or a ruler to help you maintain accurate angles. It's a subtle detail, but it can make a significant difference in the overall quality of your tracing.
Section 2: Tracing Specific Letterforms – Mastering the Details
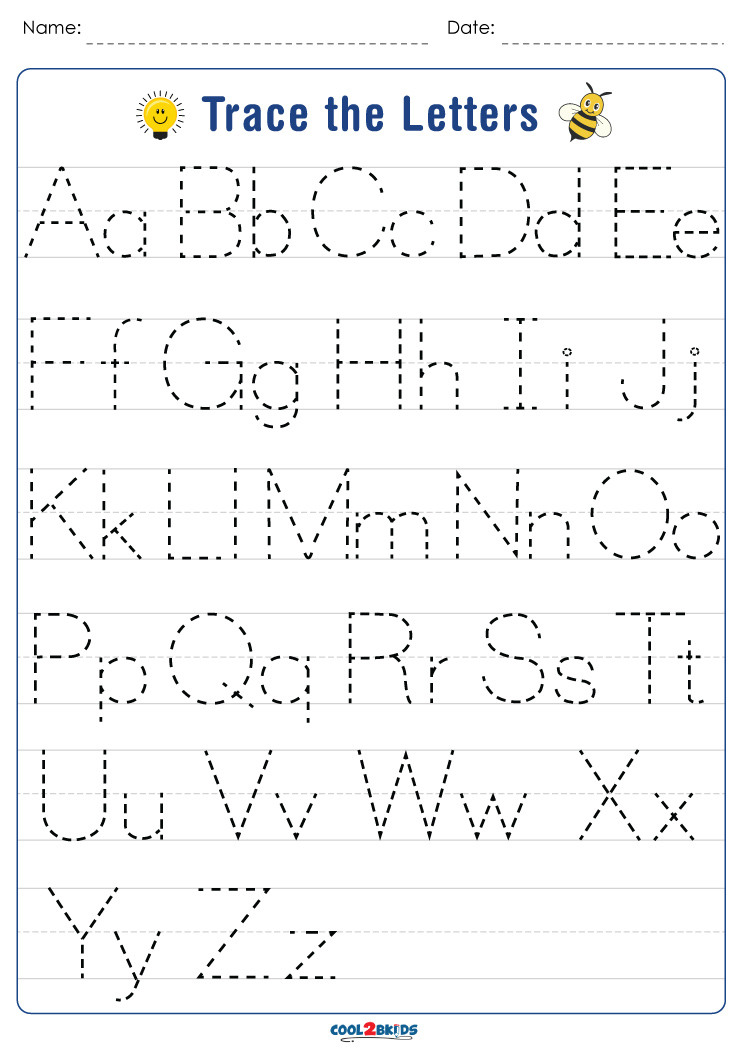
Now, let's move on to tracing more complex letterforms, such as lowercase letters and some common letter combinations. Tracing lowercase letters requires a greater degree of precision and attention to detail. Start by focusing on the individual strokes of each letter, paying close attention to the subtle variations in shape and angle. For example, tracing the 'o' requires careful attention to the curve of the ascender and the angle of the descender. Don't just copy the letter; try to understand why it's shaped the way it is. Practice tracing different letterforms – 'a', 'b', 'c', 'd', 'e', 'f', 'g', 'h', 'i', 'j', 'k', 'l', 'm', 'n', 'p', 'q', 'r', 's', 't', 'u', 'v', 'w', 'x', 'y', 'z'. Remember to break down each letter into its individual components – the baseline, the ascender, the descender, and the slant.
Tracing the 'L' – A Challenging but Rewarding Exercise
The 'L' is notoriously difficult to trace accurately. It requires a delicate balance of angles and curves. Start by drawing a straight line across the letter, establishing the baseline. Then, draw a curved line that connects the baseline to the top of the letter. The key is to create a smooth and flowing curve that mimics the natural curve of the letter's ascender and descender. Don't be afraid to experiment with different angles and curves. It's a process of trial and error, so don't get discouraged if your first attempts aren't perfect. Focus on capturing the overall shape and the relationship between the lines. Practice tracing different 'L's – 'L', 'Lo', 'L' – to develop your skills.

Tracing the 'W' – A Focus on the Slant
The 'W' is another letter that requires careful attention to the slant. It's a letter that's inherently angled, so it's important to accurately capture its slant. Start by drawing a straight line across the letter, establishing the baseline. Then, draw a curved line that connects the baseline to the top of the letter. Pay close attention to the angle of the slant. Don't just draw a straight line; try to create a curve that mimics the natural curve of the letter's slant. This is where a protractor or ruler can be incredibly helpful.
Section 3: Advanced Techniques and Tips for Improvement
Once you've mastered the basics, you can begin to explore more advanced techniques. Here are a few tips for improving your tracing skills:
- Use a Light Pencil: Start with a light pencil to sketch your lines, allowing you to easily erase and adjust as needed.
- Constantly Refer to Reference Images: Don't try to trace a letter from memory. Instead, use reference images to help you understand the shape and proportions of the letter.
- Practice Regularly: The more you practice, the better you'll become at tracing letters. Even short, regular practice sessions can make a significant difference.
- Focus on Accuracy: Accuracy is more important than speed. Take your time and focus on capturing the details of each letter.
- Observe Handwriting: Pay attention to the way people write. Observe the angles, curves, and proportions of their handwriting. This can help you develop a better understanding of how letters are formed.
- Break Down Complex Letters: When tracing a complex letter, break it down into smaller, more manageable components. Focus on mastering each component before moving on to the next.
Conclusion: The Enduring Value of Tracing Letters Template
Tracing letters template is more than just a technique; it's a journey of discovery. It's a way to deepen your understanding of letterforms, improve your drawing skills, and unlock a new level of artistic expression. The principles of tracing are fundamental to many artistic disciplines, from calligraphy and illustration to typography and design. By mastering this technique, you'll gain a valuable tool for creating visually compelling designs and a deeper appreciation for the beauty of handwriting. The ability to accurately replicate the curves and angles of a letter is a skill that will serve you well throughout your artistic pursuits. So, embrace the challenge, practice diligently, and enjoy the rewarding process of tracing letters template. It's a skill that will continue to expand your creative horizons for years to come.
0 Response to "Tracing Letters Template"
Posting Komentar